Configure Security Devices
All Firewall Threat Defense devices associated with the Secure Firewall Management Center that you onboarded to Security Cloud Control are security devices to which you can:
-
Associate private resources, which are internal applications you want to protect with identity-based access control, IPS, malware, and other protections.
-
Deploy Secure Access access rules. Security devices are responsible for enforcing access rules for on-premises users, remote users, or both.
Perform these steps to enable universal zero trust network access settings on the Threat Defense devices. These steps include configuring the device FQDN, inside interface, outside interface, and PKCS12 certificate to enable universal ZTNA on the devices.
Before you begin
You must know the name of each device's internal and external network interfaces:
-
The internal interface (also referred to as the DMZ interface) is used to apply access rules to on-premises users.
-
The external interface is used to apply access rules to remote users.
You can choose internal, external, or both types of interfaces for each security device.
Procedure
Step 1 | In the Secure Firewall Management Center, click . | ||||||||||||||||||
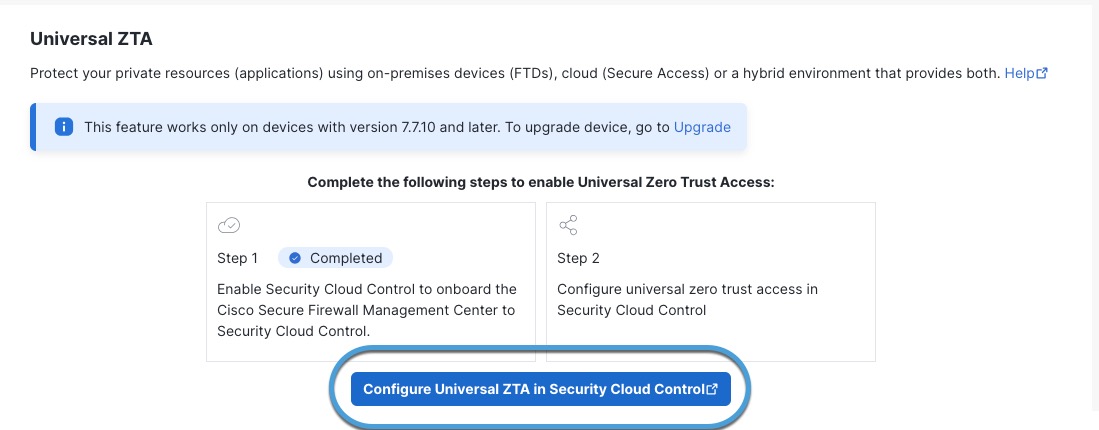
Step 2 | Click Configure Universal ZTA in Security Cloud Control. This figure shows an example.
| ||||||||||||||||||
Step 3 | When prompted, log in to Security Cloud Control. | ||||||||||||||||||
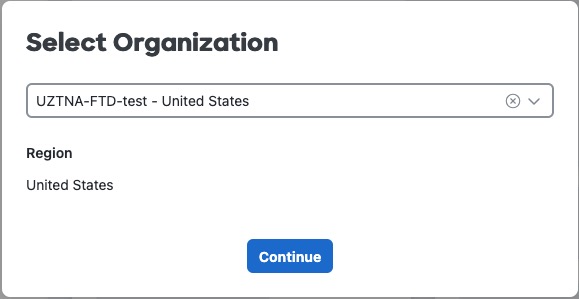
Step 4 | When prompted, select your organization from the drop-down list and click Continue. Select an organization that has both Secure Access and Secure Firewall micro applications configured. This figure shows an example.
| ||||||||||||||||||
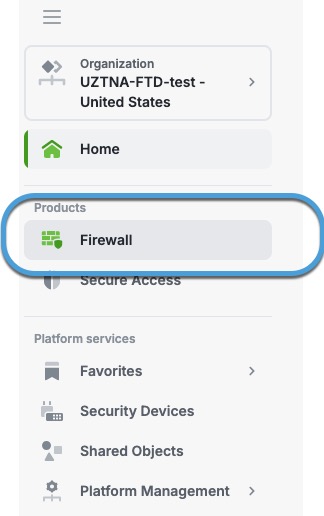
Step 5 | In Security Cloud Control, in the Products section, click Firewall. This figure shows an example.
| ||||||||||||||||||
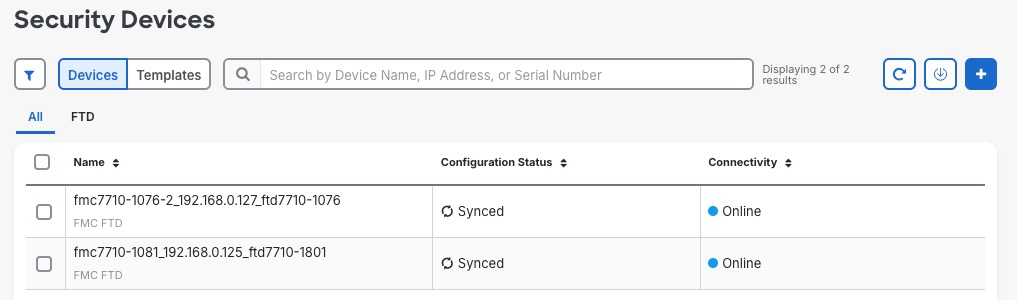
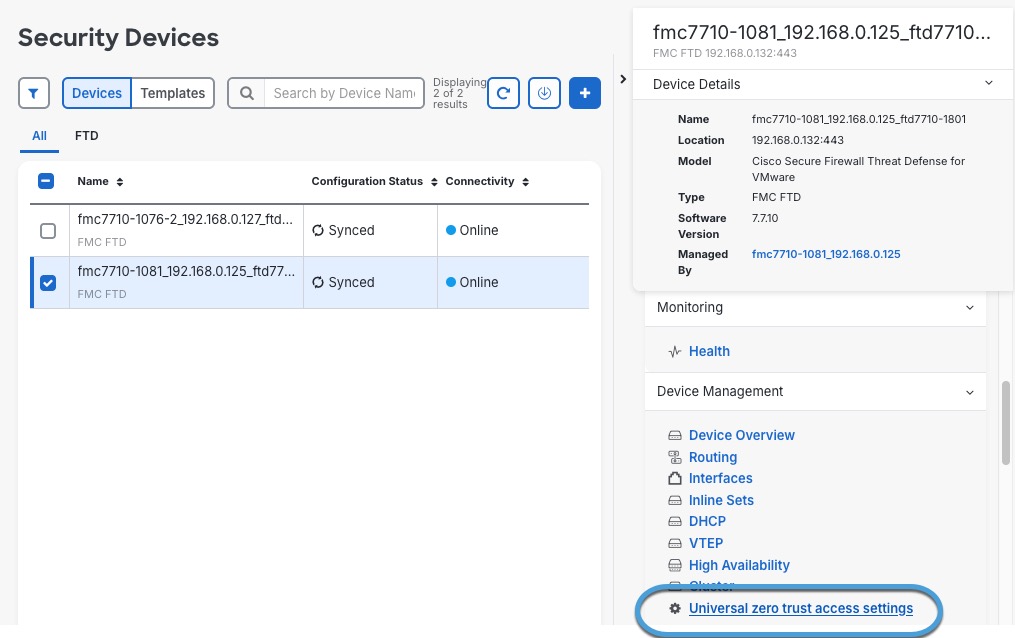
Step 6 | In the Manage section, click Security Devices. The Security Devices page displays the available security devices.
| ||||||||||||||||||
Step 7 | Select the check box next to a device to add to the universal zero trust network access configuration. | ||||||||||||||||||
Step 8 | In the right pane, click . This figure shows an example.
| ||||||||||||||||||
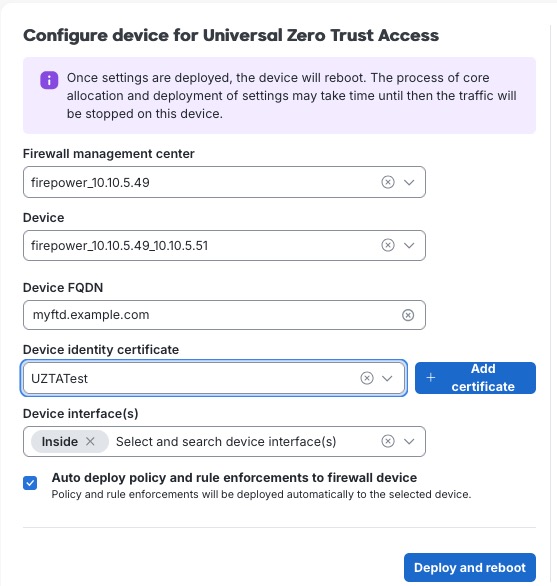
Step 9 | Enter or edit the following information on the Configure device for Universal Zero Trust Access page.
This table describes the configurations to enable universal ZTNA on the device.
| ||||||||||||||||||
Step 10 | Click Deploy and Reboot. The device reboots to reallocate the system resources for universal ZTNA components.
| ||||||||||||||||||
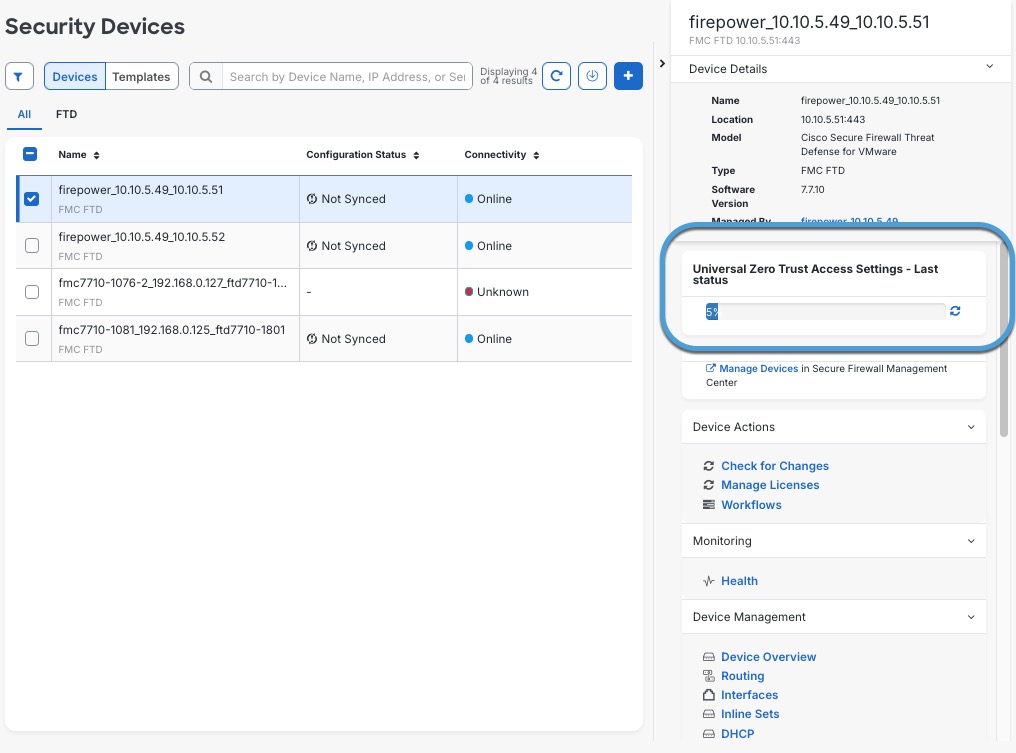
Step 11 | On the Security Devices page, select the check box next to the device to which you just deployed the Universal ZTNA configuration. The right pane displays the deployment status, as shown in the figure.
For additional information, click in the right pane. After the deployment completes, you can view the completion status in the Universal Zero trust Access Settings - Last status tab for the device. |
Universal ZTNA-enabled Firewall Threat Defense device is connected to Secure Access.
What to do next
Check the availability of the Threat Defense device under Secure Access by clicking .