Replace the network module with a different type
Replace an existing network module with a different type to accommodate new interface requirements or hardware upgrades.
If you replace a network module with a different type, then a reboot is required. If the new module has fewer interfaces than the old module, you will have to manually remove any configuration related to interfaces that will no longer be present.
For clustering or High Availability, you can only perform chassis operations on the control node or active unit.
Before you begin
For High Availability, you cannot disable a network module if the failover link is on the module. You will have to break the high availability pair (see Break a high availability pair), which means you will have downtime when you reboot the active unit. After the units finish rebooting, you can reform High Availability.
Follow these steps to replace the network module with a different type:
Procedure
Step 1 | For clustering or High Availability, perform the following steps.
|
Step 2 | From , click Manage in the Chassis column. For clustering or High Availability, this option is only available for the control node/active unit; network module changes are replicated to all nodes. 
The Chassis Operations page opens for the device. This page shows physical interface details for the device. |
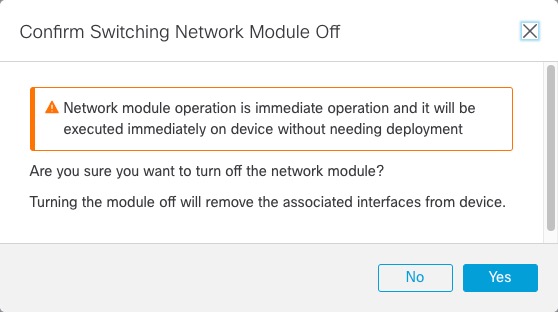
Step 3 | On the interfaces graphic, click the slider ( 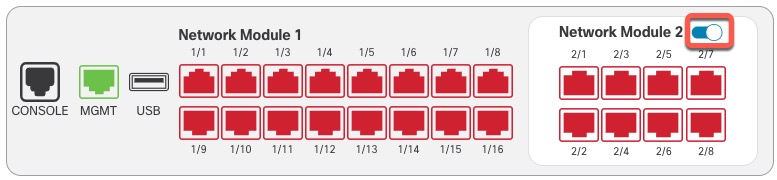
Do not save any changes on the Interfaces page. Because you are replacing the network module, you do not want to disrupt any existing configuration.
|
Step 4 | On the device, remove the old network module and replace it with the new network module according to the hardware installation guide. Reboot the firewall. Refer to Shut down or restart the device for guidance. For clustering or High Availability, reboot the data nodes/standby unit first, and wait for them to come back up. Then you can change the control node or active unit (see Switch the Active Peer in the Firewall Threat Defense High Availability Pair), and reboot the former control node/active unit. |
Step 5 | In the Cloud-Delivered Firewall Management Center, click Sync Modules to update the page with the new network module details. |
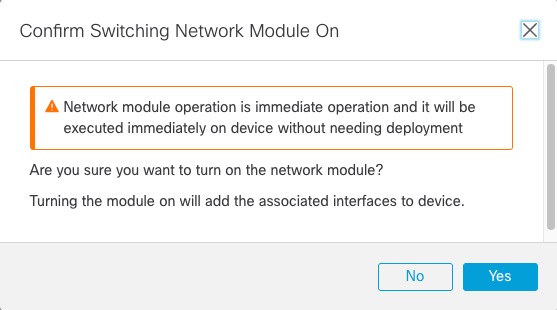
Step 6 | Enable the new module by clicking the slider ( 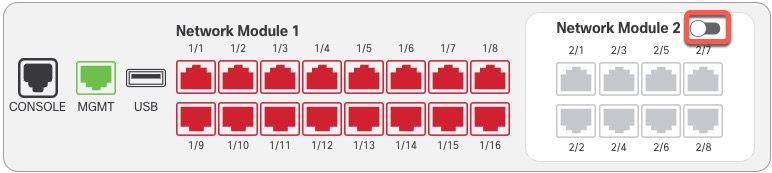
|
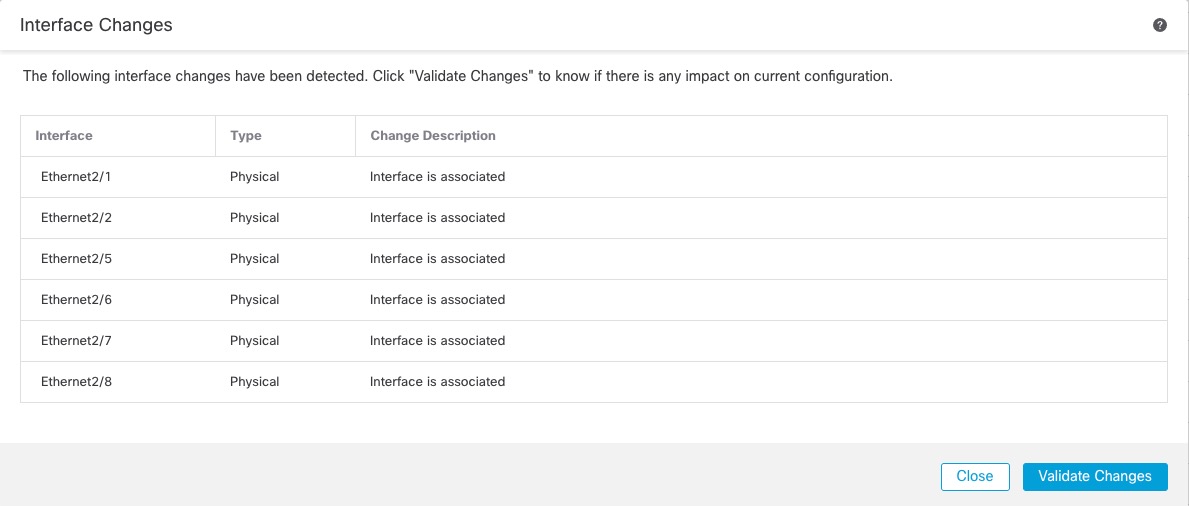
Step 7 | Click the link in the message at the top of the screen to go to the Interfaces page to save the interface changes. 
|
Step 8 | If the network module has fewer interfaces:
|
Step 9 | To change the interface speed, see Enable the physical interface and configure Ethernet settings. The default speed is set to Detect SFP, which detects the correct speed from the SFP installed. You only need to fix the speed if you manually set the speed to a particular value and you now need a new speed. Click Save to save the interface changes to the firewall. |



What to do next
-
If you had to change any configuration, go to and deploy the policy.
-
For clustering, add the node back to the cluster.
-
For high availability, reenable interface monitoring for interfaces on the network module. See Configure standby IP addresses and interface monitoring.