Register the pxGrid Cloud connection with Cisco ISE
This task discusses how to register the pxGrid Cloud connection with Cisco ISE, which enables pxGrid Cloud to send user data to the pxGrid Cloud identity source in Security Cloud Control.
Before you begin
Complete the tasks discussed in Register Cisco ISE with the Catalyst Cloud Portal.
Procedure
Step 1 | Log in to Cisco ISE as an administrator. |
Step 2 | Click |
Step 3 | Make sure all services are enabled with read/write privileges. |
Step 4 | In the left navigation bar, click pxGrid Cloud Connection. |
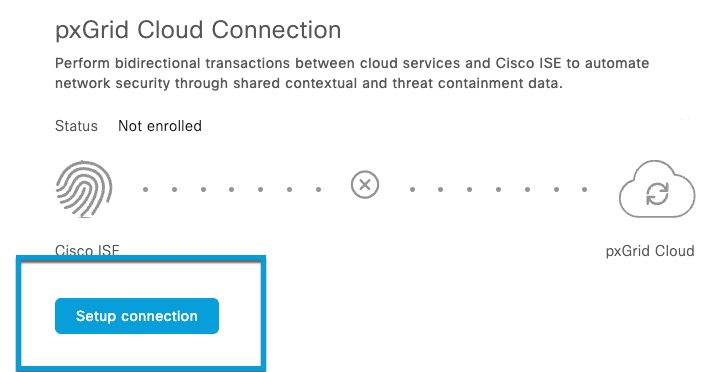
Step 5 | Click Setup Connection as the following figure shows.
|
Step 6 | Paste the OTP value in the provided field. |
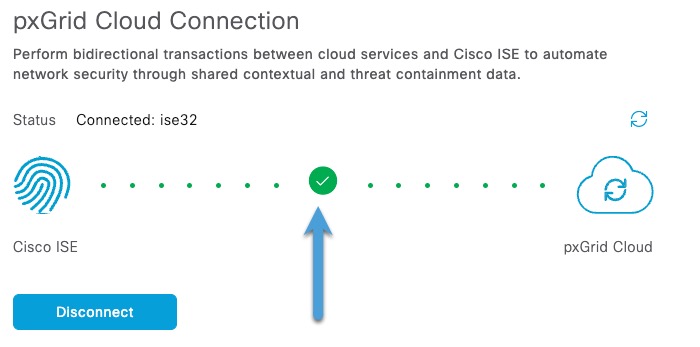
Step 7 | Click Connect. A green check mark like the following confirms that connection was successful.
|
Step 8 | Confirm the setup has been successful so far:
|

What to do next
Continue with Create the identity source.