Configure an EtherChannel
This section describes how to create an EtherChannel port-channel interface, assign interfaces to the EtherChannel, and customize the EtherChannel.
Note | For the Firepower 4100/9300, you configure EtherChannels in FXOS. See Add an EtherChannel (Port Channel) for more information. |
Before you begin
-
When you add the first member interface, it sets the required hardware properties of all member interfaces. See Guidelines for EtherChannels for more details about member interface requirements.
-
You cannot add a physical interface to the channel group if you configured a name for it. You must first remove the name.
NoteIf you are using a physical interface already in your configuration, removing the name will clear any configuration that refers to the interface.
Procedure
Step 1 | Select and click Edit ( |
Step 2 | Enable the member interfaces according to Enable the Physical Interface and Configure Ethernet Settings. |
Step 3 | Click . |
Step 4 | On the General tab, set the Ether Channel ID to a number between 1 and 48 (1 and 8 for the Firepower 1010 and Secure Firewall 1210, 1 and 10 for the Secure Firewall 1220). 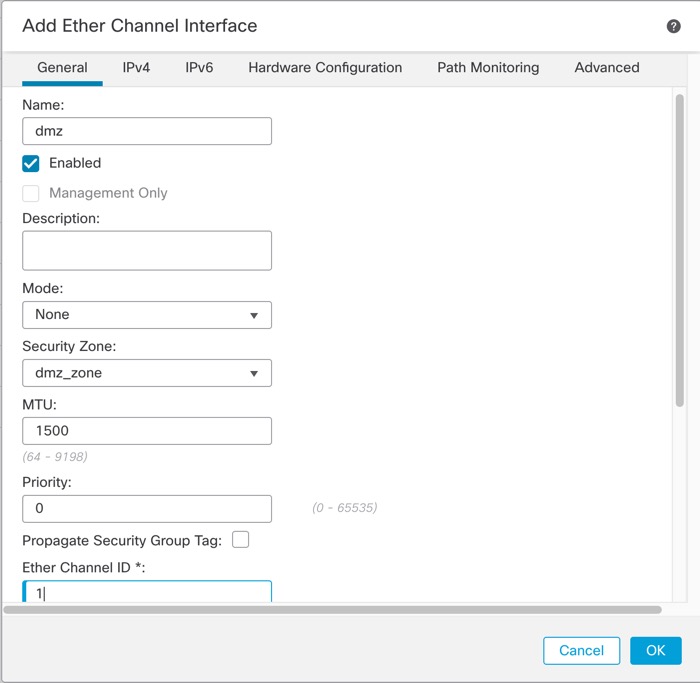
|
Step 5 | In the Available Interfaces area, click an interface and then click Add to move it to the Selected Interfaces area. Repeat for all interfaces that you want to make members. Make sure all interfaces are the same type and speed capability. 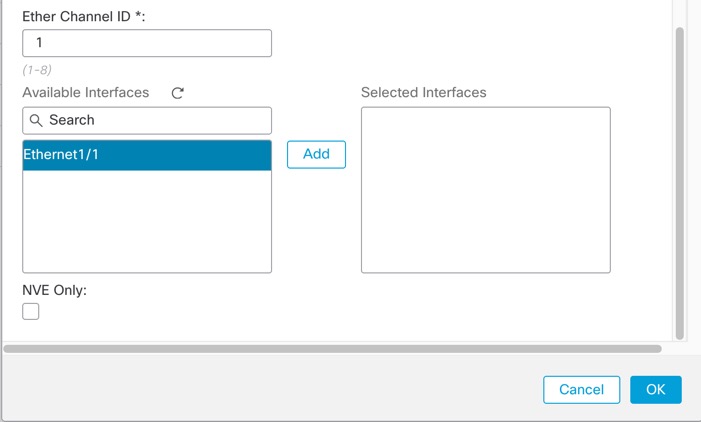
|
Step 6 | (Optional) Click the Advanced tab to customize the EtherChannel. Set the following parameters on the Information sub-tab: 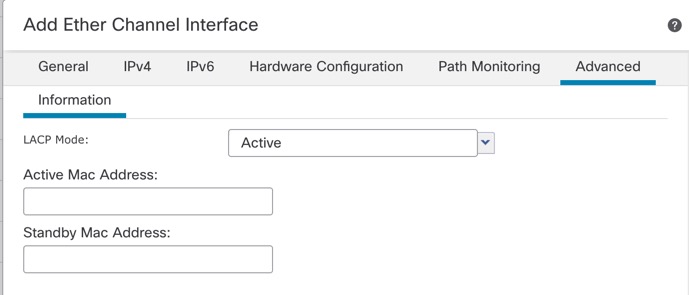
|
Step 7 | Click the Hardware Configuration tab and set the Duplex and Speed for all member interfaces. |
Step 8 | Click OK. |
Step 9 | Click Save. You can now go to and deploy the policy to assigned devices. The changes are not active until you deploy them. |
Step 10 | (Optional) For regular firewall interfaces, add a VLAN subinterface. See Add a Subinterface. |
Step 11 | For regular firewall interfaces, configure the routed or transparent mode interface parameters: Configure Routed Mode Interfaces or Configure Bridge Group Interfaces. For IPS-only interfaces, see Inline Sets and Passive Interfaces. |