Use this task when you need to add one or more instances to a chassis already in multi-instance mode. The number of supported instances depends on your model; refer to Requirements and prerequisites for instances.
Follow these steps to add an instance to a chassis in multi-instance mode:
Procedure
Step 1
From Devices > Device Management, click Manage in the Chassis column or click Edit ().
Manage Chassis
The Chassis Manager page opens for the chassis to the Summary page.
Step 2
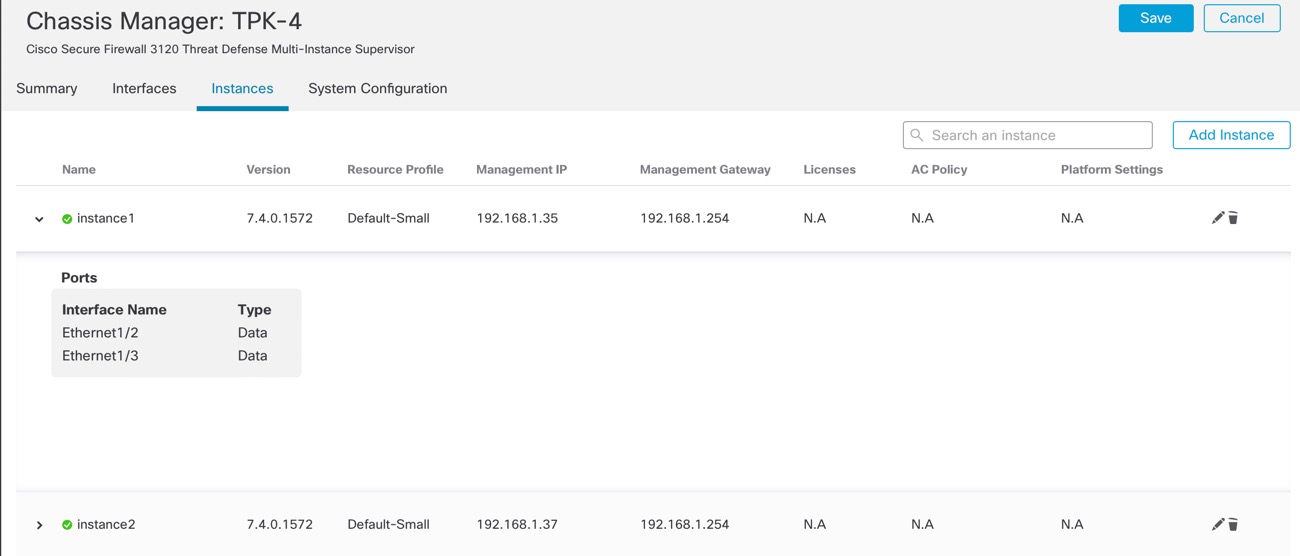
Click Instances, and click Add Instance.
Instances
Step 3
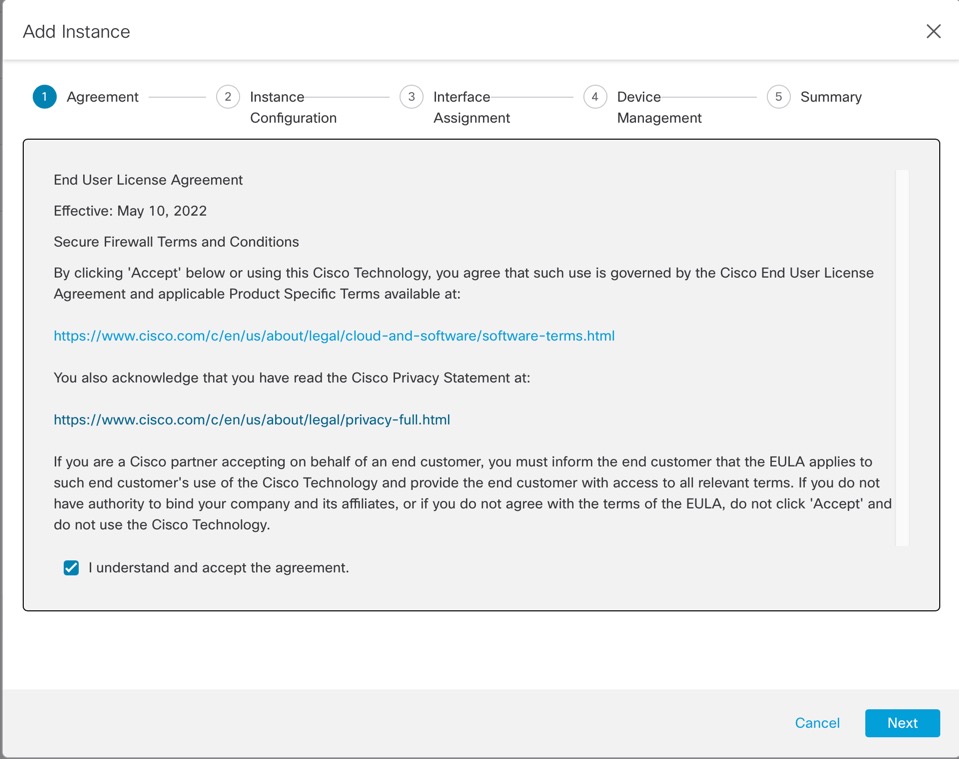
On Agreement, check I understand and accept the agreement, then click Next.
Agreement
Step 4
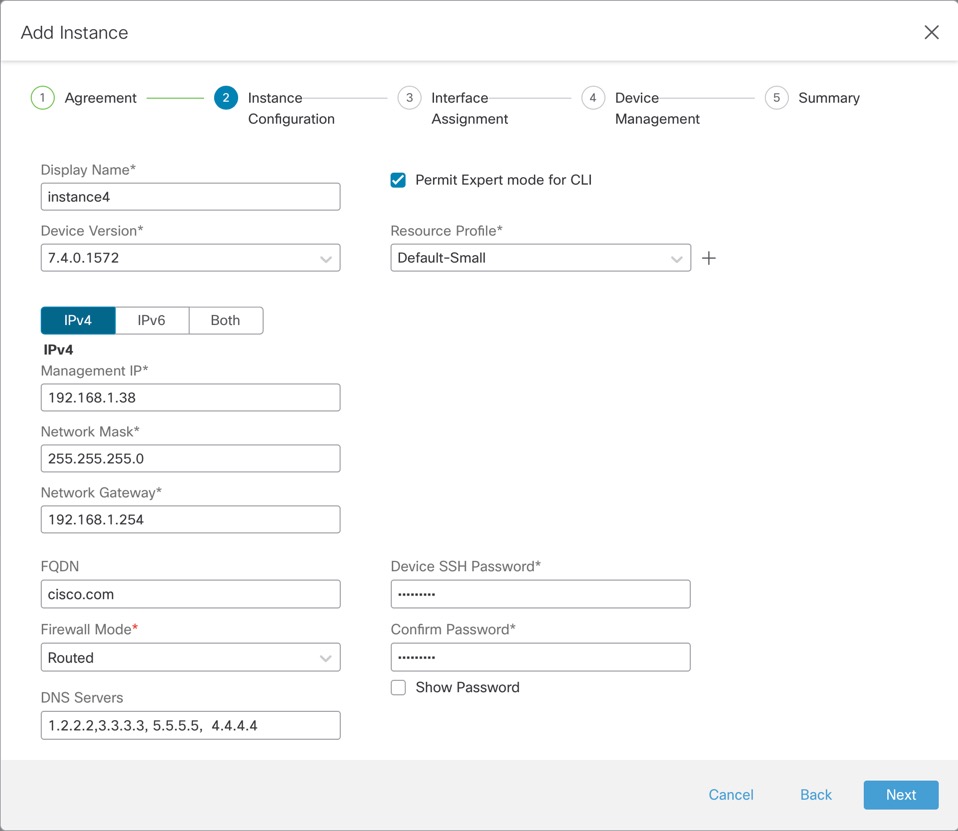
On Instance Configuration, set the instance parameters, then click Next.
Instance configuration
Display Name
Device Version: Versions listed are packages currently downloaded to the chassis. Patch versions are not listed and cannot be used because they don't contain the entire bundle. To upgrade to a new package, refer to Devices > + Show more > Upgrade > Chassis Upgrade. When you upgrade, both the old Firewall Threat Defense version and the new Firewall Threat Defense version will be listed in the menu. To download an older package, you need to use the FXOS CLI. Note: Both FXOS and Firewall Threat Defense images are included in the same package. For more information, refer to troubleshooting guide.
For example:
firepower-3110# scope firmware
firepower-3110# download image https://10.10.7.89/Cisco_FTD_SSP_FP3K_Upgrade-7.4.1-1.sh.DEV.tar
Please use the command 'show download-task' or 'show download-task detail' to check download progress.
% Download-task Cisco_FTD_SSP_FP3K_Upgrade-7.4.1-1.sh.DEV.tar : completed successfully.
IPv4, IPv6, or Both: Set a Management IP address on the same network as the chassis Management interface. Set the Network Mask and gateway (likely the same gateway as the chassis). The chassis Management interface is shared with each instance, and each instance has its own IP address on the network. You can SSH to this IP address by default to reach the Firewall Threat Defense CLI.
DNS Servers: Enter a comma-separated list of DNS servers for management traffic only.
(Optional) Permit Expert Mode for CLI: Expert Mode provides Firewall Threat Defense shell access for advanced troubleshooting.
If you enable this option, then users who access the instance directly from an SSH session can enter Expert Mode. If you disable this option, then only users who access the instance from the FXOS CLI can enter Expert Mode. We recommend disabling this option to increase isolation between instances.
Use Expert Mode only if a documented procedure tells you it is required, or if the Cisco Technical Assistance Center asks you to use it. To enter this mode, use the expert command in the Firewall Threat Defense CLI.
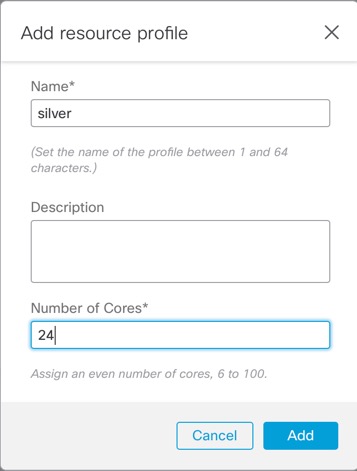
Resource Profile: The resource profile sets the number of CPU cores; RAM is dynamically allocated according to the number of cores, and disk space is set to 40 GB per instance. The chassis includes these default resource profiles: Default-Small, Default-Medium, and Default-Large. You can add additional profiles for this chassis by clicking Add (). You cannot later edit the resource profile.
Add resource profile
The minimum number of cores is 6.
Note
Instances with a smaller number of cores might experience relatively higher CPU utilization than those with larger numbers of cores. Instances with a smaller number of cores are more sensitive to traffic load changes. If you experience traffic drops, try assigning more cores.
You can assign cores as an even number (6, 8, 10, 12, 14 etc.) up to the maximum.
If you later assign a different resource profile, then the instance will reload, which can take approximately 5 minutes. Note that for an established High Availability pair , if you assign a different-sized resource profile, be sure to make all members the same size as soon as possible.
Device SSH Password: Set the Firewall Threat Defense admin user password for CLI access, either SSH or console. Repeat the password in the Confirm Password field.
Step 5
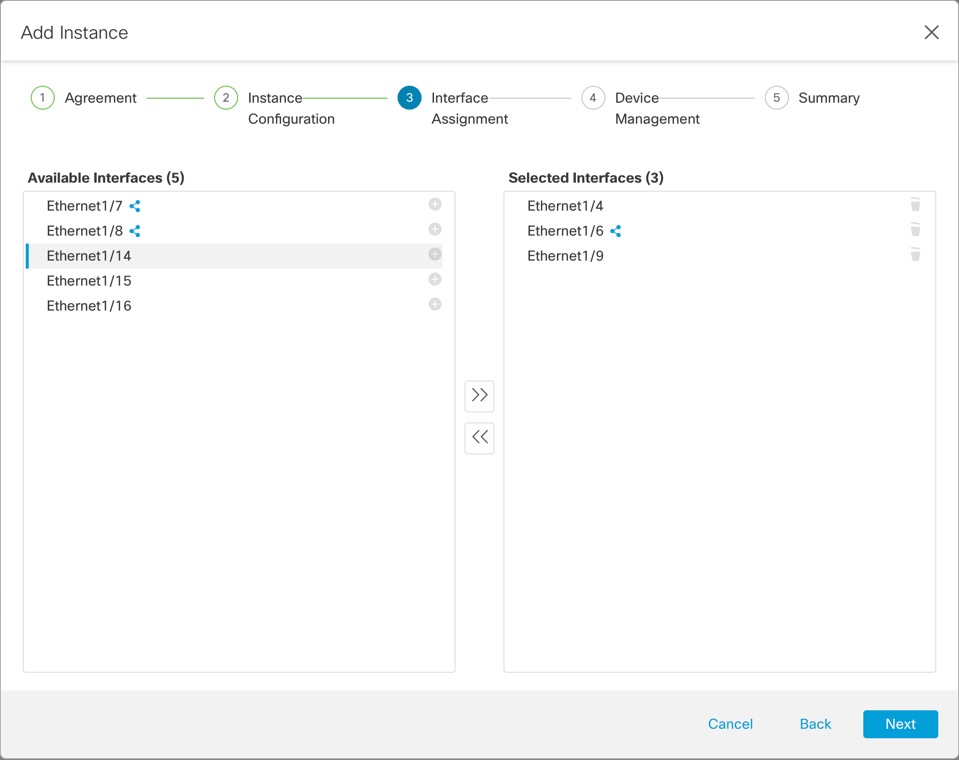
On Interface Assignment, assign the chassis interfaces to the instance, then click Next.
Interface assignment
Shared interfaces show the sharing icon ().
Step 6
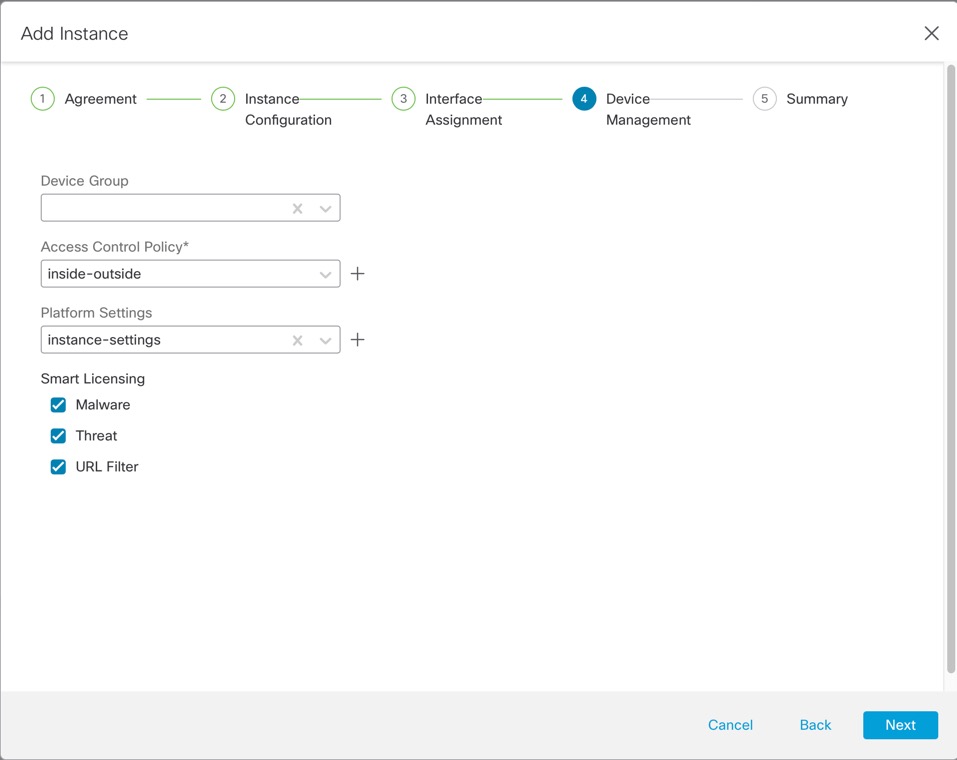
On Device Management, set the device-specific settings, then click Next.
Device management
Device Group
Access Control Policy: Choose an existing access control policy, or create a new policy.
Platform Settings: Choose an existing platform setting policy, or create a new policy.
Smart Licensing
Step 7
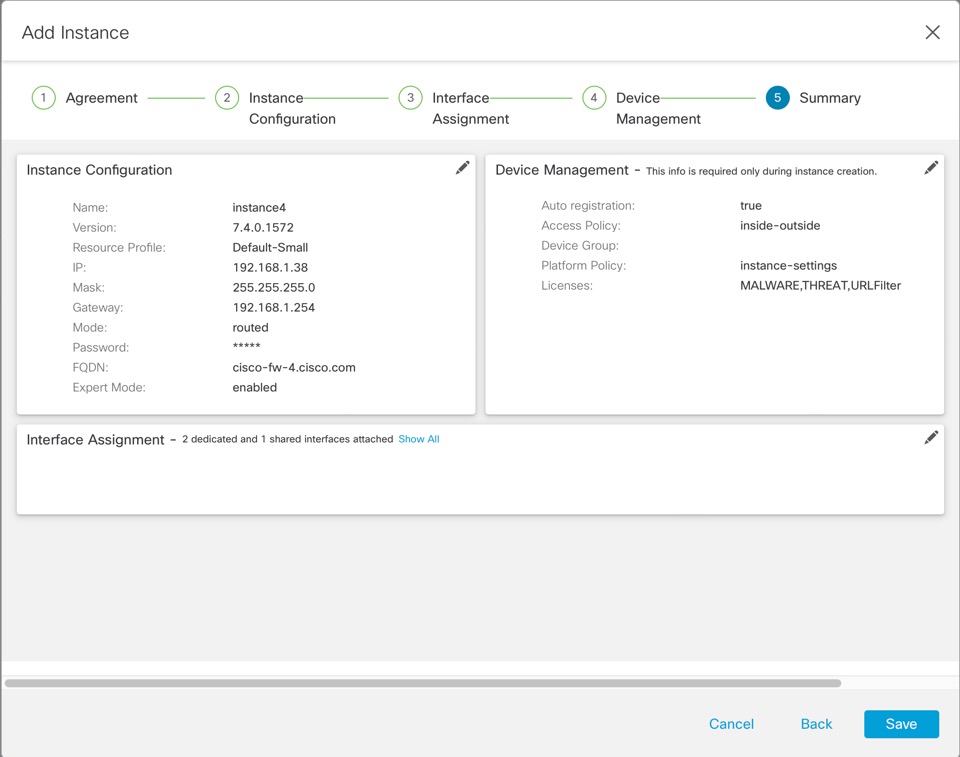
On Summary, confirm your settings, then click Save.
Summary
You can edit any settings on this screen before saving the instance. After you save, the instance is added to the Instances screen.
Step 8
On the Instances screen, click Save.
Deploy the chassis configuration.
Step 9
Manually add the instance to Security Cloud Control as an FTD.



 ).
).