Deploy Cluster Nodes Manually - NLB-based Deployment
Deploy the cluster nodes so they form a cluster.
Procedure
Step 1 | Log into the Azure Portal: https://portal.azure.com | ||
Step 2 | Create a Resource Group.
| ||
Step 3 | Create a Virtual Network with the necessary subnets: Management, Inside, Outside and Cluster Control Link (CCL).
| ||
Step 4 | Go to the Marketplace and search for Cisco Secure Firewall Threat Defense Virtual – BYOL and PAYG and click Create. | ||
Step 5 | Fill the required details and choose Yes for Is this VM going to be part of Cluster? 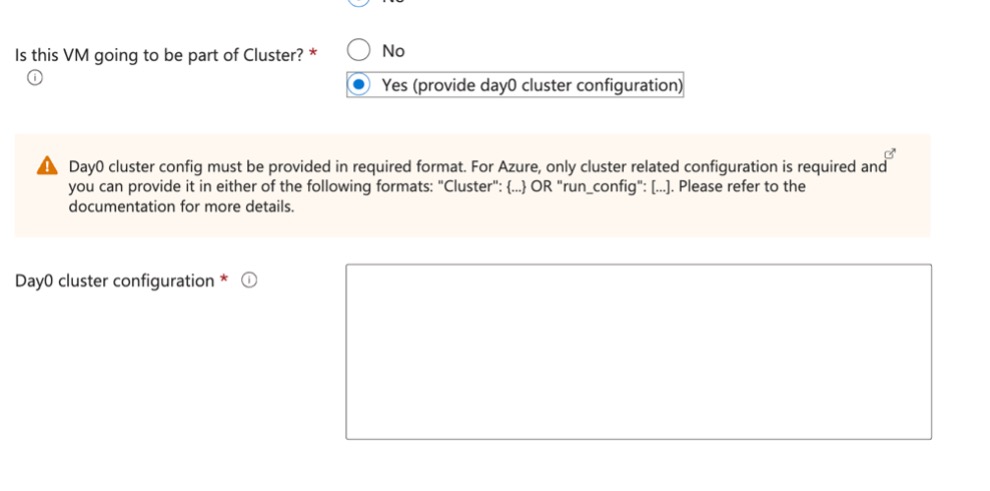 Paste the following cluster-related configuration in the text box. | ||
Step 6 | Click Next and select the Virtual Network & Subnets. | ||
Step 7 | Click Review + create. Wait until the Threat Defense Virtual deployment is completed. | ||
Step 8 | Connect to the Threat Defense Virtual device and use the show cluster info command to confirm the cluster formation is successful. | ||
Step 9 | Add the control node to the Management Center. See Add the Cluster to the Management Center (Manual Deployment). |