Deploy Cluster on Azure with GWLB Using an Azure Resource Manager Template
Deploy the Virtual Machine Scale Set for Azure GWLB using the customized Azure Resource Manager (ARM) template. Note that the templates mentioned in the steps below are available on GitHub.
Procedure
Step 1 | Prepare the template.
| ||
Step 2 | Log into the Azure Portal: https://portal.azure.com. | ||
Step 3 | Create a Resource Group.
| ||
Step 4 | Create a virtual network with three subnets: Management, Data, and Cluster Control Link (CCL). | ||
Step 5 | Deploy the custom template.
| ||
Step 6 | Configure the Instance details.
| ||
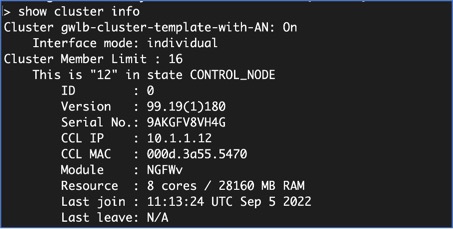
Step 7 | After the instance is running, verify the cluster deployment by logging into any one of the nodes and entering the show cluster info command. 
| ||
Step 8 | In the Azure Portal, click the Function app to register the cluster with the Firewall Management Center.
| ||
Step 9 | Create FTPS Credentials by clicking , and then click Save. | ||
Step 10 | Upload the Cluster_Function.zip file to the Function app by executing the following curl command in the local terminal. curl -X POST -u username --data-binary @"Cluster_Function.zip" https:// Function_App_Name.scm.azurewebsites.net/api/zipdeploy
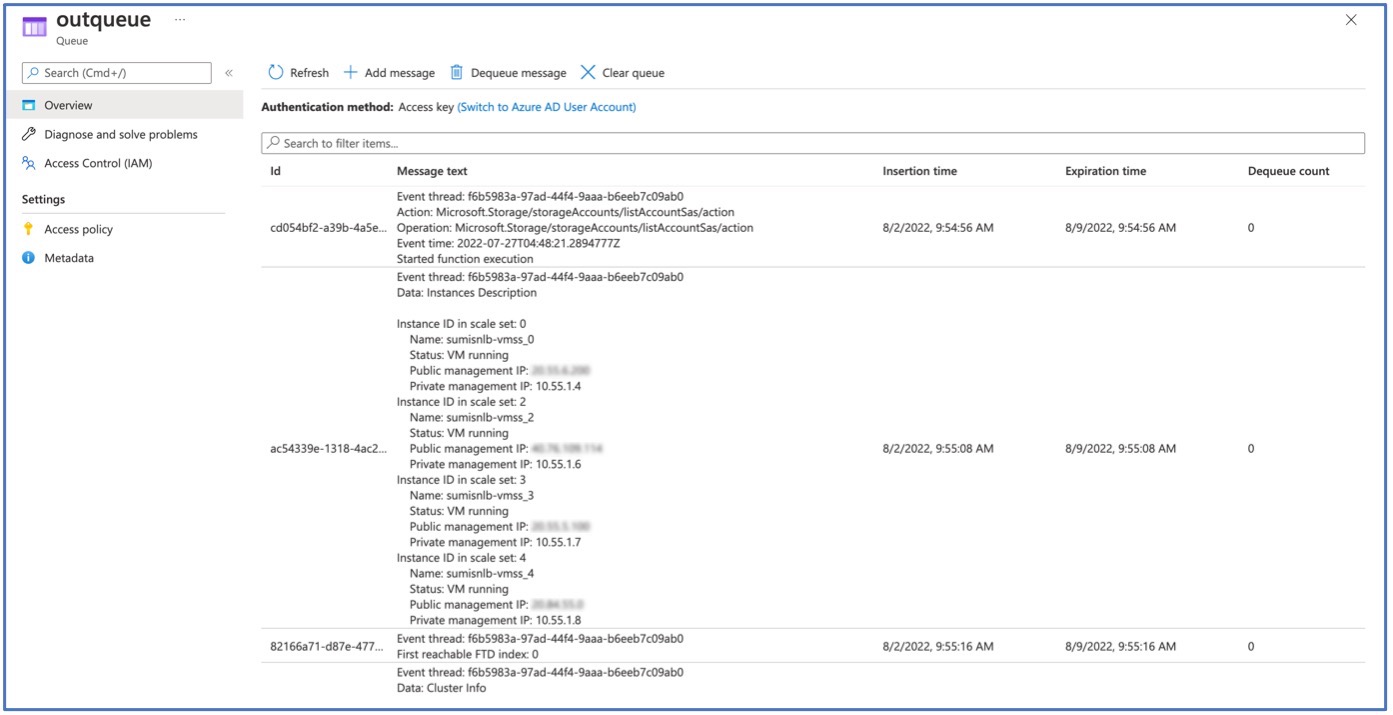
The function will be uploaded to the Function app. The function will start, and you can see the logs in the storage account’s outqueue. The device registration with the Management Center will be initiated. 


|